In a world where store shelves are lined with bottles listing ingredients we can barely pronounce, the appeal of going back to basics is stronger than ever.
There is something incredibly empowering about knowing exactly what you are putting on your face. Imagine whipping up a fresh face mask in your kitchen, using ingredients you probably already have in your pantry like honey, oats, or yogurt.
It feels pure, natural, and surprisingly luxurious. Building a DIY skincare routine allows you to take control of your beauty regimen, customize treatments to your specific needs, and save a significant amount of money in the process.
But let’s be honest—the world of homemade beauty can be a little intimidating at first. We’ve all seen the Pinterest fails or heard horror stories about lemon juice burning someone’s skin. The key to a successful DIY skincare routine is knowledge.
It’s about understanding which natural ingredients are safe, effective, and suitable for your skin type. It’s not just about mashing up fruit and hoping for the best; it’s about creating gentle, effective formulas that support your skin’s health.
This comprehensive guide is your friendly handbook to the world of homemade skincare. We are going to walk you through the essential steps of a complete DIY skincare routine, from cleansing oils to hydrating masks.
We will cover safety tips (because yes, natural ingredients can still irritate!), share simple recipes that actually work, and help you build a regimen that leaves your skin glowing and happy.
Get ready to turn your kitchen into your own personal spa.
Why Choose a DIY Skincare Routine?
Before we dive into the recipes, let’s talk about the “why.” Why should you bother mixing oils and brewing teas when you could just buy a bottle of cleanser?
First, there is the factor of transparency. When you make your own products, you never have to guess what “fragrance” or “parfum” really means.
You know that the lavender scent comes from real lavender oil, not a synthetic chemical. For those with sensitive skin or allergies, this control is invaluable.
Second, a DIY skincare routine offers customization. Store-bought products are made for the masses. They have to work “okay” for everyone.
But your skin is unique! Maybe you need a little more moisture in the winter or something purifying in the summer.
With DIY, you can tweak your recipes instantly. Add a drop more oil if you’re dry, or switch to a lighter base if you’re breaking out.
Finally, there is the freshness factor. Commercial products need preservatives to sit on a shelf for two years.
Your homemade mask is made fresh, meaning the vitamins and enzymes in the ingredients are at their most potent. It’s like the difference between canned fruit and a fresh peach—your skin can tell the difference.
Essential Skincare Basics for an Effective DIY Routine
A DIY skincare routine works best when it follows proven skincare fundamentals. Even natural or homemade care needs the right steps and order to stay safe and effective:
- Learn the skincare routine essential steps every routine should include
- Start with a simple basic skincare routine before adding DIY treatments
- Apply products correctly by following the skincare routine order
- Review all recommended skincare routine steps to avoid irritation
These guides help you get results from DIY skincare without harming your skin barrier.
Important Safety First: The Golden Rules of DIY
Before you start mixing, there are a few safety rules that are non-negotiable for a healthy DIY skincare routine. “Natural” does not always mean “harmless.” Poison ivy is natural, but you wouldn’t put it on your face!
- Preservatives (or lack thereof): Most DIY recipes, especially those containing water (like teas, aloe, or fresh fruit), have no preservatives. This means bacteria can grow within days. Rule: If it contains water or fresh food, keep it in the fridge and use it within 2-3 days. If it smells off, toss it.
- Patch Testing: Just because an ingredient is gentle doesn’t mean you aren’t allergic to it. Always test a small amount of a new ingredient on your inner arm and wait 24 hours before putting it on your face.
- Avoid Certain Ingredients: Some popular DIY ingredients are actually too harsh for the face. Lemon juice, baking soda, and toothpaste can disrupt your skin’s pH balance and cause burns or irritation. Stick to gentle ingredients tailored to facial skin.
- Sterilize Your Containers: Always wash your jars, bottles, and spoons with hot, soapy water (or run them through the dishwasher) before making your products. You don’t want to introduce bacteria into your fresh creations.
Step 1: The Oil Cleanse (Your DIY Makeup Remover)
The first step in any good DIY skincare routine is cleansing. If you wear makeup or sunscreen, nothing removes it better than oil.
The concept is simple: oil dissolves oil. A good oil blend will melt away sebum and grime without stripping your skin dry.
Choosing Your Carrier Oils
The base of your cleanser will be a “carrier oil.” You can use one oil alone or mix a few together.
- For Dry Skin: Olive oil, Avocado oil, or Almond oil. These are rich and deeply moisturizing.
- For Oily/Acne-Prone Skin: Jojoba oil, Grapeseed oil, or Hemp Seed oil. These are lighter and less likely to clog pores. Jojoba oil is actually very similar to human sebum, making it great for balancing oil production.
- For Normal/Combination Skin: Sunflower oil or Safflower oil. These are balanced, mid-weight oils.
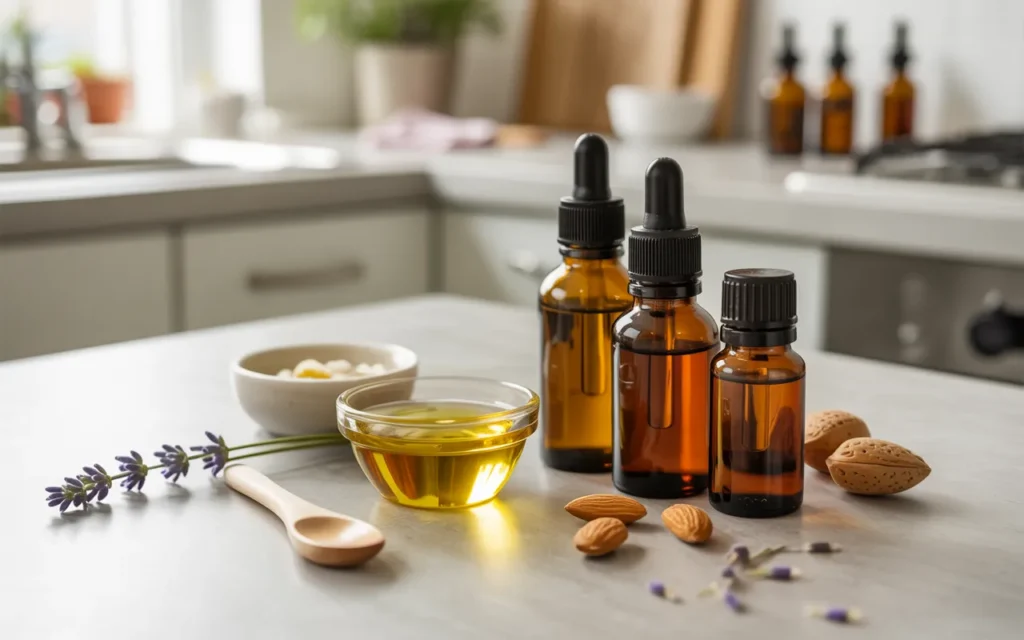
The Recipe: Simple Cleansing Oil
- Ingredients: 2 tablespoons of your chosen carrier oil (e.g., Jojoba). Optional: 1 drop of Lavender essential oil for relaxation.
- Method: Pour the oil into your clean palm.
- How to Use: Massage the oil gently onto your dry face for at least 60 seconds. Focus on the lashes to break down mascara. Run a washcloth under warm water, wring it out, and gently wipe the oil away. Your skin will feel soft and clean, not greasy.
How to Use DIY Skincare in Morning and Night Routines
DIY skincare products should be used thoughtfully depending on the time of day. These guides help you balance natural care safely:
- Use lightweight DIY options in your morning skincare routine
- Focus on repair and nourishment with a night skincare routine
- Combine both safely using a morning and night skincare routine
This approach prevents overuse and keeps DIY skincare effective.
Step 2: The Gentle Honey Wash (For Morning or Second Cleanse)
For a water-based cleanse in your DIY skincare routine, raw honey is a miracle worker. It is naturally antibacterial (great for acne), a humectant (draws moisture into the skin), and incredibly gentle.
It cleanses without stripping your natural oils, making it perfect for the morning or as a second cleanse after your oil step.
Why Honey Works
Raw honey (especially Manuka honey, though regular raw honey works too) contains enzymes that provide mild exfoliation. It helps to heal blemishes and soothe redness. Unlike soap, it doesn’t disrupt the skin’s acid mantle.
The Recipe: Honey Face Wash
- Ingredients: 1 tablespoon of raw, unfiltered honey. Optional: A splash of warm water if the honey is too thick.
- Method: Wet your face with warm water. Scoop the honey into your fingers and massage it onto your damp skin.
- How to Use: Massage for at least a minute. If it feels sticky, add a little more water to your hands to help it glide. Rinse thoroughly with warm water. Your skin will feel incredibly plump and hydrated.
Step 3: DIY Toners and Mists
Toners in a DIY skincare routine are not about stripping oil with alcohol; they are about rebalancing pH and adding a first layer of hydration.
These are some of the easiest products to make at home because they often require just one or two ingredients.
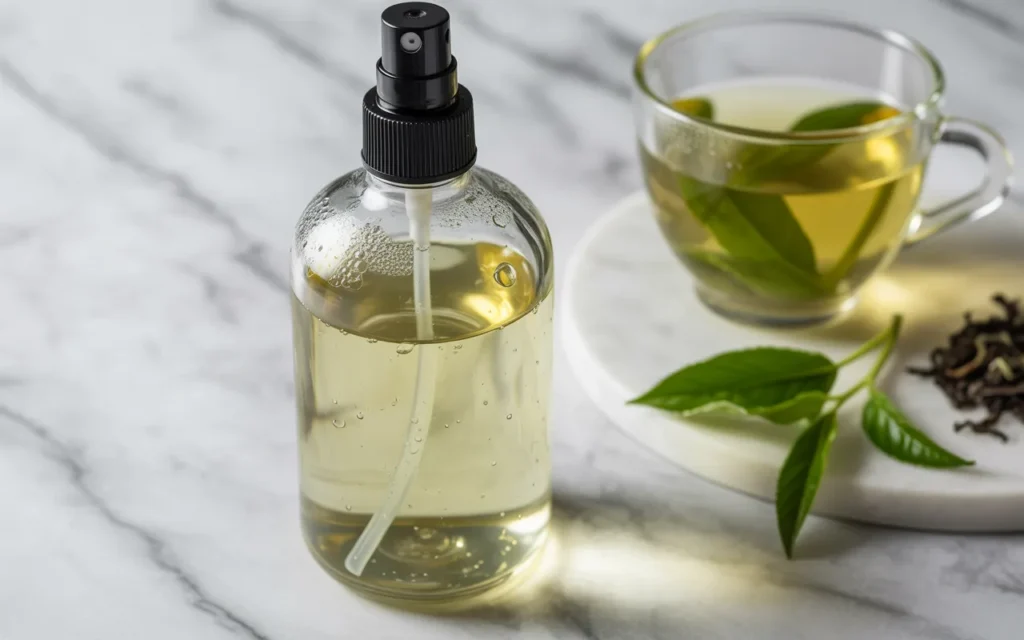
Green Tea Toner (Soothing & Anti-Aging)
Green tea is packed with antioxidants and can help reduce inflammation and redness.
- Ingredients: 1 bag of organic green tea, 1 cup of boiling water.
- Method: Steep the tea for 10-15 minutes to get a strong brew. Let it cool completely. Pour into a clean spray bottle or jar.
- Storage: Keep in the refrigerator and use within 3-4 days. The cold temperature also helps de-puff the face!
Apple Cider Vinegar Toner (Balancing for Oily Skin)
Apple Cider Vinegar (ACV) helps restore the skin’s natural acidity, which can keep bacteria at bay. Caution: Never use it undiluted! It is very strong.
- Ingredients: 1 part raw ACV (with “the mother”), 4 parts distilled water.
- Method: Mix well in a bottle.
- How to Use: Apply to a cotton pad and swipe over the face, avoiding the eyes. If it stings, dilute it with more water immediately.
Rose Water (Hydrating & Calming)
While you can buy rose water, you can also make a simple version.
- Ingredients: Fresh rose petals (make sure they are pesticide-free!), distilled water.
- Method: Place petals in a pot and just cover with distilled water. Simmer on low heat until petals lose their color (about 20 mins). Strain and cool.
- Storage: Keep in the fridge for up to a week.
Step 4: Exfoliation (The Scrub & The Mask)
Exfoliation removes dead skin cells to reveal the brighter skin underneath. In a DIY skincare routine, you have to be careful not to be too rough.
Sugar scrubs are popular, but the granules can sometimes be too sharp for delicate facial skin (save them for the body!). Instead, we prefer softer exfoliants.
Easy DIY Skincare Routines You Can Maintain Long-Term
DIY skincare is most effective when it stays simple and consistent. These routines help you keep things practical:
- A gentle beginner skincare routine before experimenting with DIY
- A low-effort simple skincare routine
- Maintain consistency with a structured daily skincare routine
- Compare DIY vs store-bought options in the best skincare routine
These guides help you blend DIY skincare with proven routines for better results.
Oatmeal Scrub (Gentle Physical Exfoliation)
Oats contain saponins (natural cleansers) and are incredibly soothing for sensitive skin.
- Ingredients: 1 tbsp ground oatmeal (blitz it in a blender until it’s a powder), 1 tbsp plain yogurt or honey.
- Method: Mix into a paste.
- How to Use: Gently massage onto damp skin in circular motions. Let it sit for 5 minutes as a mask, then rinse.
Yogurt Enzyme Mask (Gentle Chemical Exfoliation)
Plain yogurt contains lactic acid, a gentle Alpha Hydroxy Acid (AHA) that dissolves dead skin cells without scrubbing.
- Ingredients: 2 tbsp plain, unsweetened Greek yogurt.
- Method: Apply a thick layer to clean skin.
- How to Use: Leave on for 15-20 minutes. You might feel a slight tingle—that’s the lactic acid working! Rinse with cool water. This reveals brighter, smoother skin instantly.
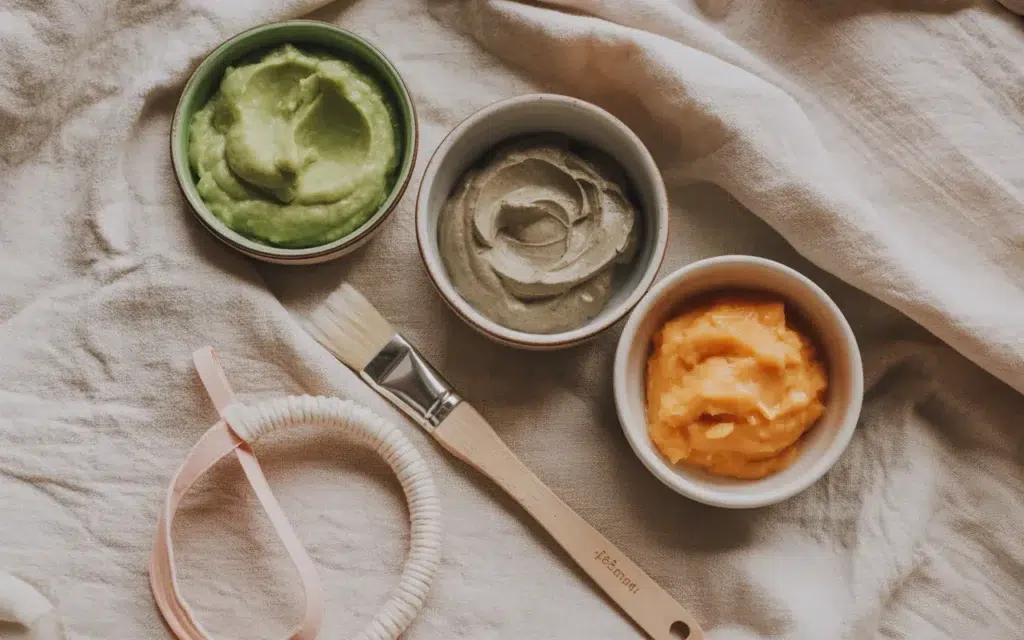
Step 5: Nourishing Face Masks
This is the fun part! Face masks are where you can really play “chemist” in your DIY skincare routine. Treat your skin to a feast of nutrients.
The “Dry Skin Savior” Mask
- Ingredients: 1/2 ripe avocado (mashed), 1 tsp honey, 1 tsp almond oil.
- Benefits: Avocado provides healthy fats to repair the skin barrier, while honey hydrates.
- Method: Mix well, apply to face, leave for 15 mins, rinse.
The “Acne Fighter” Mask
- Ingredients: 1 tbsp Bentonite clay (or Kaolin clay), 1 tsp Apple Cider Vinegar, 1 tsp water.
- Benefits: Clay draws out impurities and oil from pores. ACV balances pH.
- Method: Mix in a non-metal bowl (metal deactivates the clay). Apply to T-zone or acne spots. Let dry for 10 minutes (don’t let it get painfully tight), then rinse.
The “Glow Getter” Mask
- Ingredients: 1 tbsp mashed papaya or pumpkin, 1 tsp honey.
- Benefits: Papaya and pumpkin contain natural enzymes that eat away dead skin cells for a serious glow.
- Method: Apply, leave for 10-15 mins, rinse.
Step 6: Moisturizing with Oils and Butters
To finish your DIY skincare routine, you need to seal in moisture. You don’t necessarily need a complicated cream (which involves emulsifying wax and preservatives). Often, a simple face oil or whipped butter is enough.
Simple Face Oil Blend
You can use the same carrier oils from your cleansing step, but applied lightly.
- Recipe: Mix 1 tbsp Jojoba oil with 1 tbsp Rosehip Seed oil.
- Why Rosehip? It is famous for being a “dry oil” (absorbs fast) and is packed with Vitamin A (natural retinol alternative) and antioxidants. It’s fantastic for scarring and anti-aging.
- How to Use: Warm 3 drops in your palms and press into damp skin.
Whipped Shea Butter (For Very Dry Skin)
If you need heavy-duty moisture (great for night time or winter), shea butter is king.
- Ingredients: 1/4 cup raw Shea Butter, 1 tbsp Coconut oil (optional, skip if acne-prone).
- Method: Melt the shea butter in a double boiler. Let it cool until it starts to solidify but is still soft. Use a hand mixer to whip it until it looks like whipped cream.
- Storage: Keep in a jar at room temperature. A tiny bit goes a long way!
Step 7: Sun Protection (The One Step You Shouldn’t DIY)
We have arrived at a very important point in your DIY skincare routine: Sunscreen.
While you can make almost everything else at home, experts strongly advise against making your own sunscreen.
Why? Sunscreen formulation is extremely complex. The zinc oxide or titanium dioxide particles must be perfectly dispersed to create an even shield. In a DIY kitchen mixer, these particles often clump together.
This leaves microscopic gaps on your skin where UV rays can penetrate and burn you, even if you think you are covered. Furthermore, you cannot test the SPF level of a homemade cream.
For the safety of your skin and to prevent cancer and aging, please buy a trusted, lab-tested sunscreen from the store.
You can choose a “natural” mineral sunscreen with simple ingredients if you want to stick to your clean beauty ethos. Use this as the final step of your morning routine.
Building Your Daily DIY Schedule
Now that you have the recipes, how do you put them together into a coherent DIY skincare routine? Here is a simple schedule to get you started.
Morning Routine
- Cleanse: Splash with water OR use the Gentle Honey Wash.
- Tone: Spritz with chilled Green Tea Toner.
- Moisturize: Apply 2-3 drops of Jojoba/Rosehip Oil Blend while skin is damp.
- Protect: Apply your store-bought Sunscreen.
Evening Routine
- Remove Makeup: Use the Cleansing Oil method.
- Second Cleanse: Follow with Gentle Honey Wash to ensure skin is clean.
- Tone: Swipe with Apple Cider Vinegar Toner (if oily) or Rose Water.
- Treat (1-2x week): Apply the Yogurt Enzyme Mask or Oatmeal Scrub.
- Moisturize: Apply a slightly more generous layer of Face Oil or a tiny dab of Whipped Shea Butter.

Conclusion: Empower Your Skin Naturally
Embarking on a DIY skincare routine is a journey of discovery. You learn to listen to your skin, to understand ingredients, and to slow down and appreciate the ritual of self-care. It transforms skincare from a chore into a creative and nourishing act.
Remember, the transition to natural skincare takes time. Your skin might need a few weeks to adjust as it detoxes from synthetic ingredients. Be patient. Start with one or two recipes—perhaps the oil cleanse and the honey wash—and see how your skin responds.
By stripping away the unnecessary chemicals and focusing on pure, simple ingredients, you are giving your skin a chance to reset and thrive.
Whether you are mixing a mask on a Sunday night or simply massaging oil into your face after a long day, a DIY skincare routine connects you to nature and to yourself in the most beautiful way. So, open your pantry, grab a bowl, and get ready to glow!